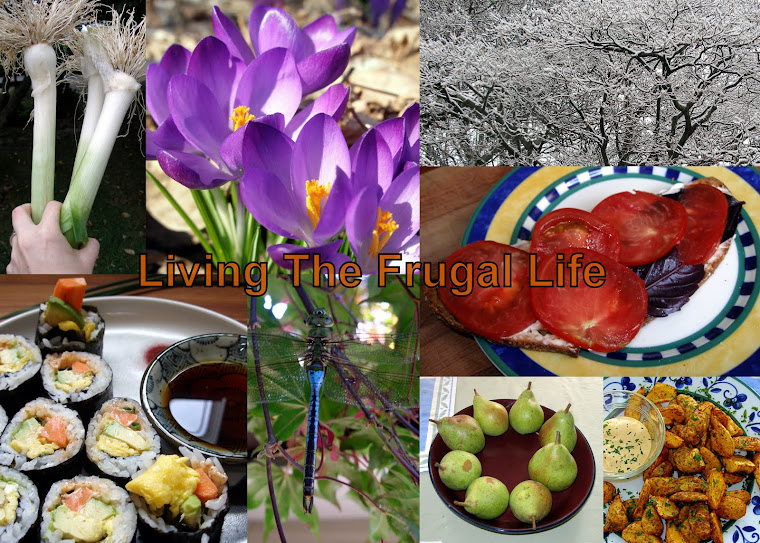
Yesterday while running an errand I noticed that the Bartlett pear tree around the corner from our home was hanging heavy with fruit. The owners of this property have put up a "free pears" sign on their lawn about half the years since we've been living here, but it hasn't been consistent. Well...I wanted those pears, and I wanted them before they all fell to the ground. Pears are best picked off the tree before they ripen. Many times the ones that fall naturally develop hard crystal-like formations in their flesh, which aren't very pleasant to eat.
We purchased a long-handled fruit picker basket
We cleaned the tree of almost all the fruit that was still on the branch. There were a few that even our long-handled picker couldn't reach, but not many. As a courtesy we picked up all the fruit on the ground too. Most of these had obvious damage on them, some from a lawn mower. I'll send them on with our early drop apples to my farming friend who raises hogs. The appearance of the pears makes it obvious that they haven't been sprayed with anything, so I'm sure she'll feel comfortable giving them to her animals. The fruit we kept for ourselves came nearly to the top of our bushel basket.
I mentioned that pears are best picked before they ripen on the branch. It turns out that pears are rather tricky to bring to what humans consider a nice state for eating. They need to be picked before maturity and then chilled. The chilling time depends on the variety, but fortunately the Bartlett only requires a couple of days. So these will be in our refrigerator for a little while and then I'll spread them back out to ripen up on cardboard in the front room. That way I can keep an eye on each one and no fruit gets crushed by the weight of fruit above. It's certainly a lot of fruit. I don't mind though. In fact, getting this much fruit free for the picking was a great mood booster. I've been frustrated with several things that are happening or not happening around the homestead lately. Free pears go a long way towards cheering me up. And this is a nice time of year to make jam and do the hot work of canning. Temperatures are definitely dropping off. I put aside a small amount of elderberry juice last month and stashed it in our freezer. I know what a surreal and gorgeous color even a little bit of juice makes when I combine it with a pale fruit like pears. So when the pears ripen up, I'll make more elderberry-pear jam. Needless to say, when it's done some will go to our benefactors around the corner.
I'm also planning to revisit an amazingly yummy cake recipe I found over at 101 Cookbooks. Heidi's salt-kissed buttermilk cake recipe is easily adapted to many different seasonal fruits. I tried it once with pears from the farmer's market and simply could. not. stop. eating. it. The nice thing about that is that for a cake, this one is surprisingly non-naughty: only half a cup of sugar and 4 tablespoons of butter. Buttermilk does the rest in terms of adding flavor and body to a very light-textured cake. I switched from Heidi's raspberry and lemon zest flavorings to sliced pear, minced crystallized ginger and almond extract. The salty-sweet topping for the fruit made the flavors really pop. This one went directly into my printed out recipe binder.
My husband is shocked that I don't count gleaned fruit as part of our harvest tally. I explained that my project is to demonstrate how much food can be produced by perfect nobodies on an average residential lot in our area. Since we didn't grow it ourselves and it didn't come from our property, I don't see that we should get "credit" for it as part of our harvest. I'd certainly count any weeds we foraged off our own property for consumption, but gleaning elsewhere is another thing entirely. Still, gleaning what we can is part and parcel of our overall drive for frugality, and I hate to see food go to waste. So I see his point. Maybe from now on I'll keep a separate gleaning tally for things we gather off-property. It could be an interesting adjunct figure to go with our harvest tally.
Any good gleaning going on in your neck of the woods?


